
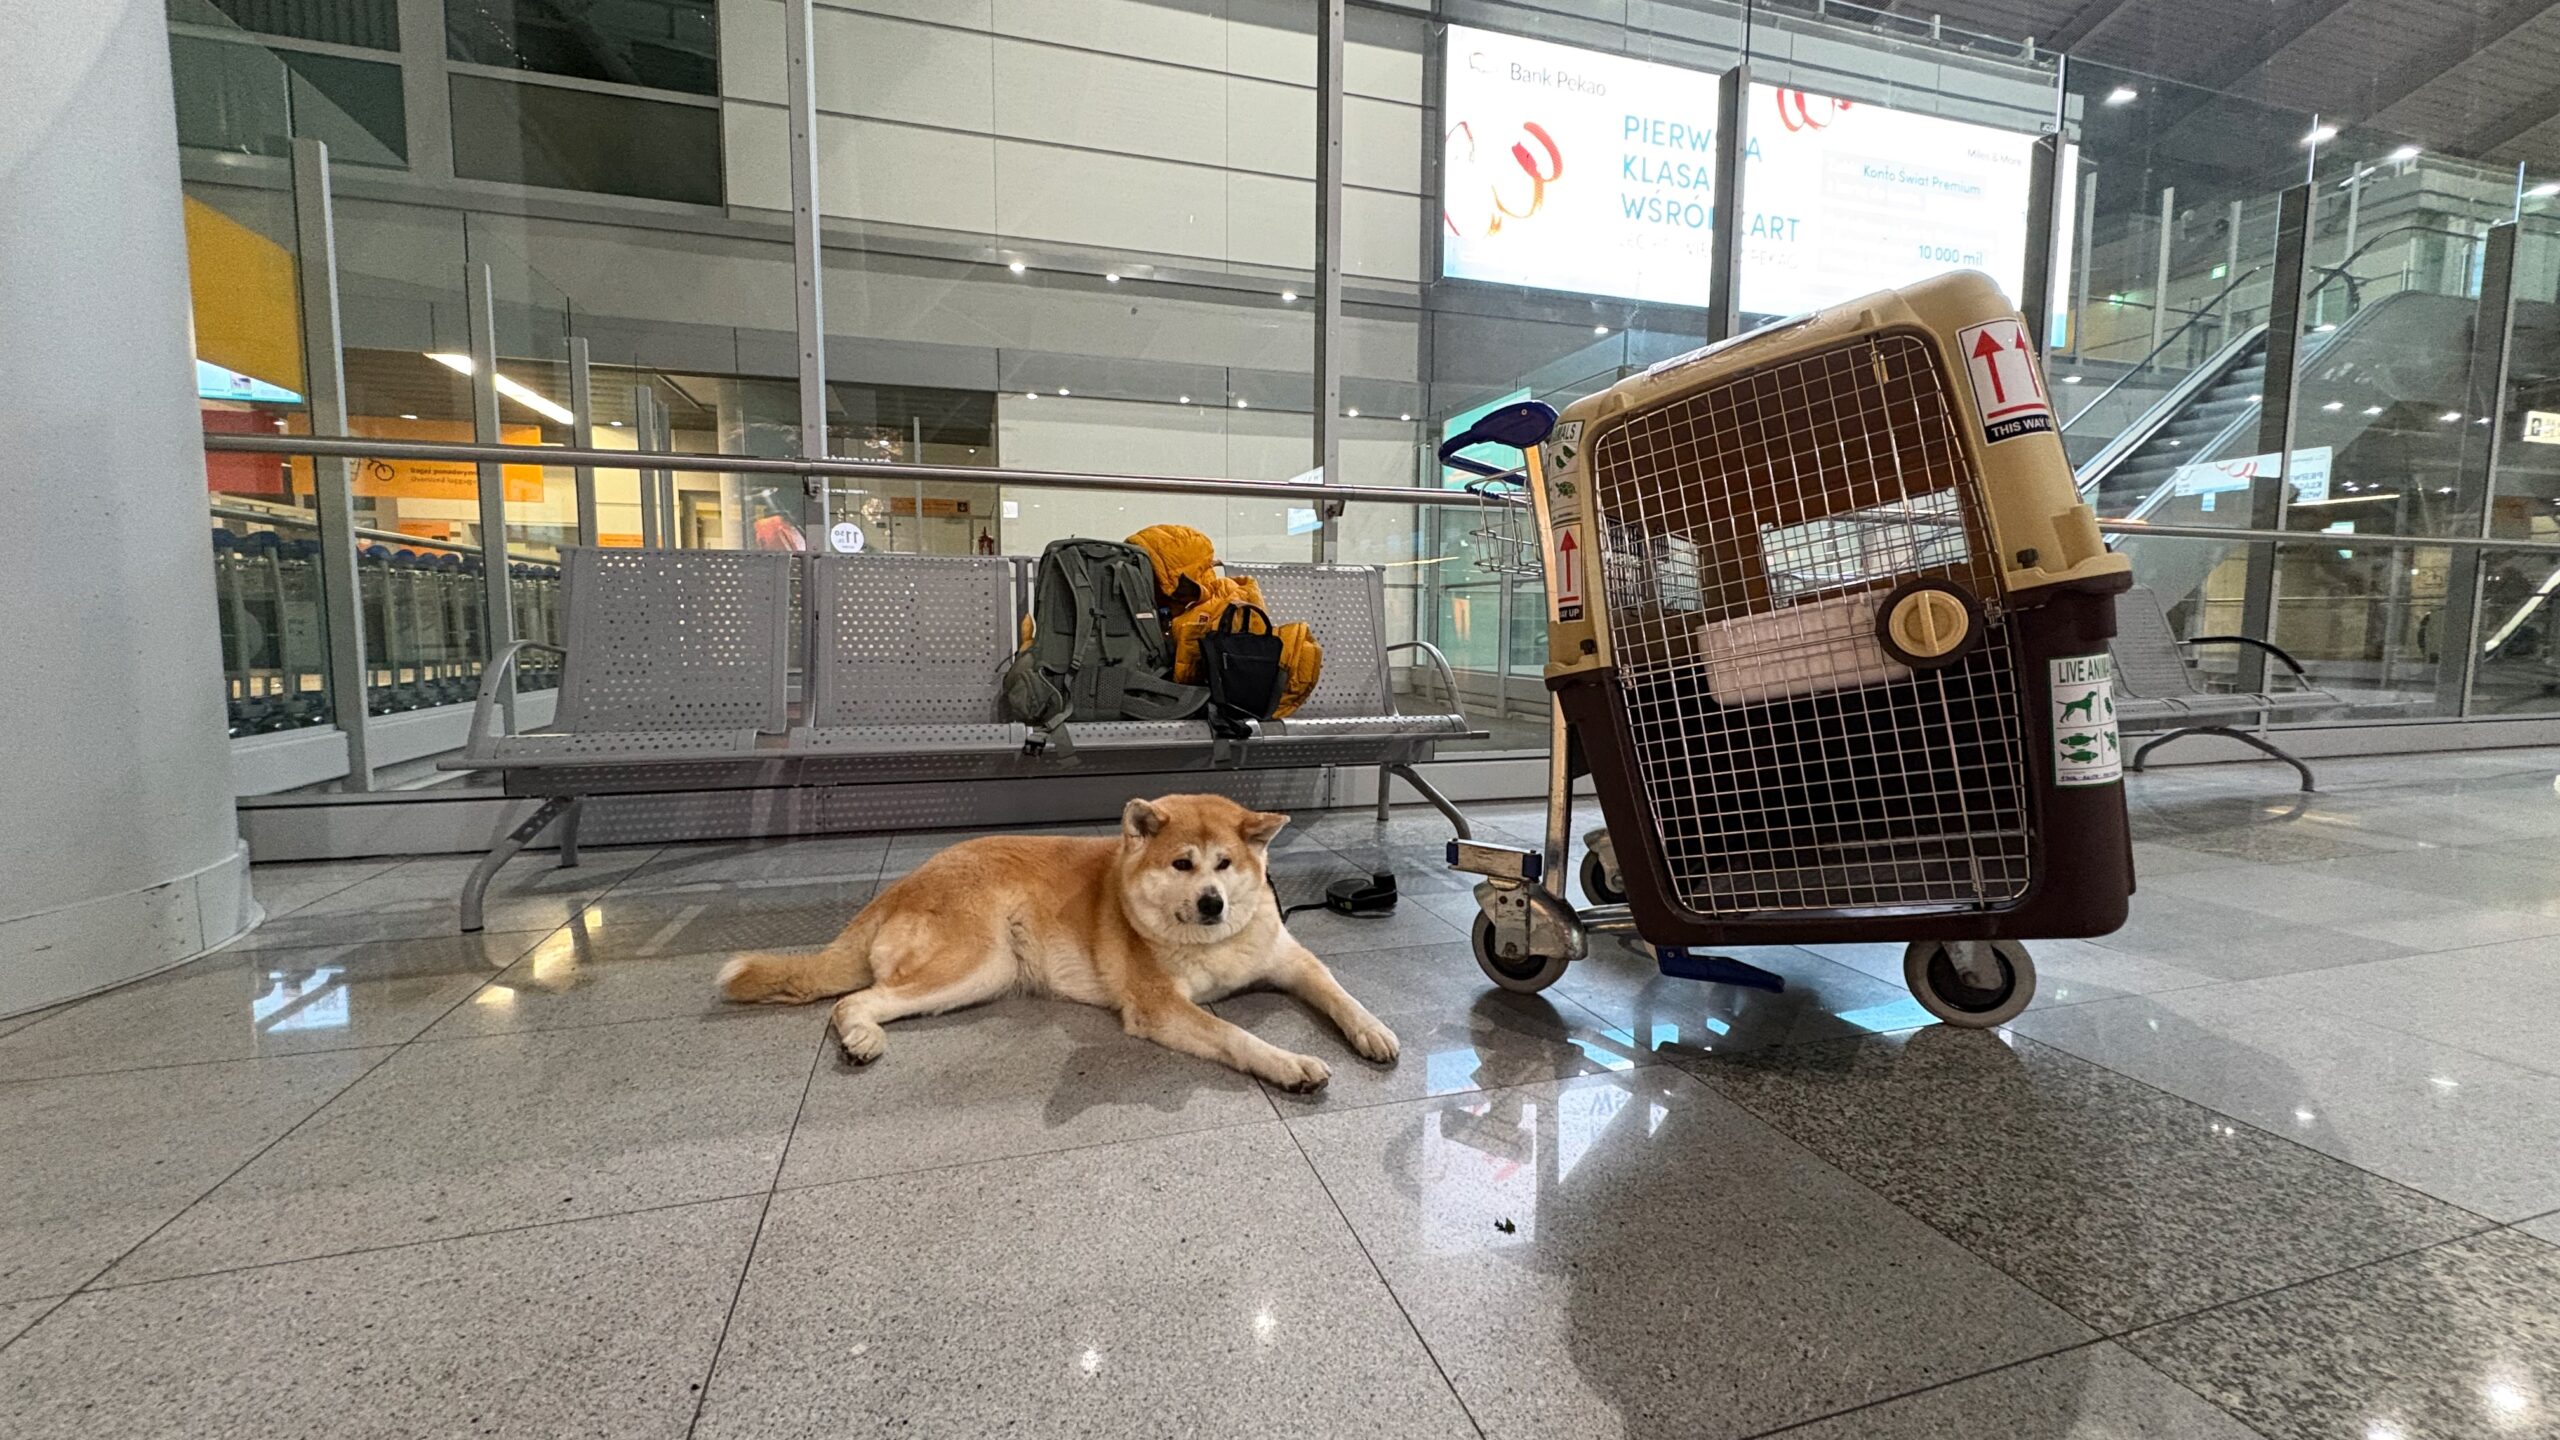
Flying with a Large Dog: Complete Guide (Japan Experience)

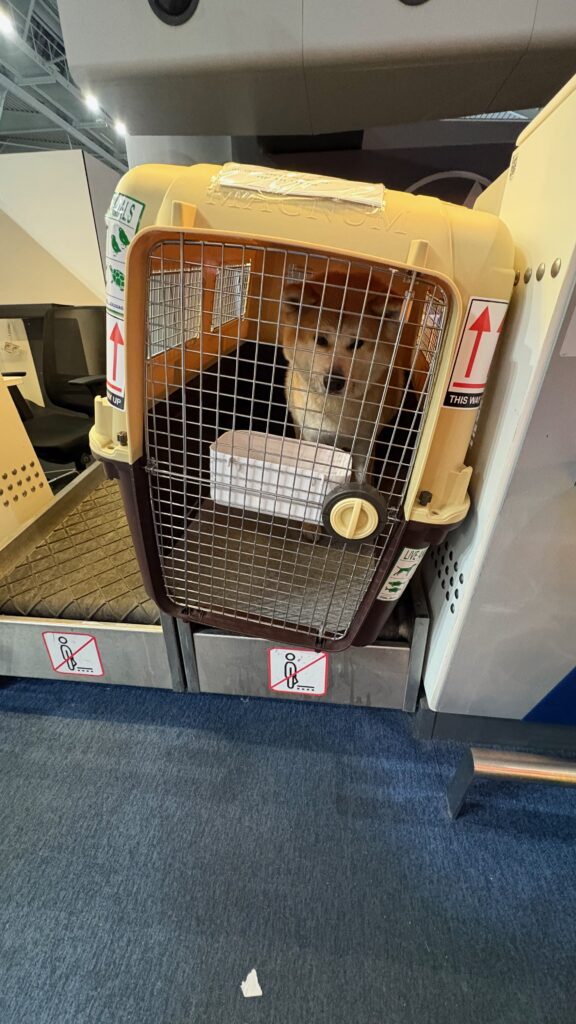
When we moved from the Czech Republic to Japan with our 32 kg Akita Inu, Chiyoko, we quickly realized there wasn’t a single guide that covered the entire process—from airline rules and choosing the right crate to Japan’s import requirements and arrival at the airport.
So we decided to write the guide we wish we’d had before starting our journey.
⏱ Preparation time: ~7–8 months (depending on your country’s requirements)
🐕 Dog: Japanese Akita Inu (32 kg)
✈️ Airline: LOT Polish Airlines
📍 Route: Warsaw → Tokyo (Narita) → Kagoshima
💰 Difficulty: Hight
Quick Checklist
If you’re planning to fly internationally with your dog, these are the most important things to check before booking your flight.
Before Booking Your Flight
✅ Does the airline accept dogs?
✅ What is the maximum weight (dog + crate)?
✅ Can your destination airport accept arriving animals?
✅ What are the temperature restrictions?
✅ Does your destination require additional veterinary documents?
✅ What type of crate does the airline require?
Although this article focuses on moving a dog to Japan, most of these questions apply to international travel anywhere in the world.
Every country has different import rules, but choosing the right airline, preparing your dog and buying a suitable crate are things every dog owner should check first.
📑 Table of Contents
- Before Booking Your Flight
- Choosing the Right Airline
- Temperature Restrictions
- Choosing the Right Crate
- Preparing Your Dog
- Importing a Dog to Japan
- Microchip
- Rabies Vaccinations
- Blood Test
- Waiting Period
- Import Notification
- Health Certificate
- Booking the Flight
- Departure Day
- Check-in
- One Last Walk
- Saying Goodbye
- Boarding
- Arriving in Japan
- Animal Quarantine Service
- Finally Together Again
- Tips From Our Experience
- Frequently Asked Questions
- Would We Do It Again?
Before Booking Your Flight
Our biggest mistake?
We started looking at flights before checking the airline requirements.
At first, we assumed every airline transported dogs. That couldn’t have been further from the truth. Some airlines don’t transport pets at all. Others only accept small dogs travelling in the cabin.
Some have strict weight limits, while others refuse transportation if temperatures at either the departure or arrival airport are too high or too low.
Because of this, the airline often determines your travel date – not the other way around. Our advice is simple: Never book your flight before checking whether your dog can actually travel on that route.
Choosing an airline turned out to be much more difficult than choosing our flights. The first thing to understand is that airlines usually divide dogs into two categories.
Small dogs travelling in the cabin
Many airlines allow small dogs to travel inside the passenger cabin.
The dog must stay inside a soft carrier placed under the seat in front of you for the entire flight. Every airline has its own rules regarding:
- maximum weight,
- carrier dimensions,
- number of pets allowed on each flight.
If you have a small dog, travelling can be relatively straightforward.
Large dogs travelling in the cargo hold
Large dogs usually travel in the aircraft’s climate-controlled cargo compartment.
Although hearing the word “cargo” sounds scary, this area is pressurized and temperature controlled specifically for transporting live animals.
However, travelling in cargo also comes with much stricter rules.
The airline will usually check:
- your dog’s weight,
- crate dimensions,
- crate certification,
- outside temperatures,
- destination requirements.
This is where we ran into our first major obstacle.
Our Akita Inu, Chiyoko, weighs approximately 32 kg (70 lbs) without the crate. Many airlines only accept dogs up to a certain combined weight of the dog and crate. Once we added the weight of a suitable IATA-approved crate, we exceeded the limit for several airlines. That immediately eliminated many of our options.
Because we also wanted a direct flight from Europe to Japan, our realistic choices became very limited.
After comparing airlines, reading reviews from other dog owners and checking every requirement, we narrowed it down to just two airlines.
In the end, we chose LOT Polish Airlines.
Temperature Restrictions
This was something we had never considered before.
Most airlines won’t transport animals if temperatures at either the departure or arrival airport fall outside their safety limits.
These limits exist to protect animals while they are outside the aircraft during loading and unloading.
For our flight, the permitted range was approximately:
- -3°C (or -7°C with a veterinary certificate)
- +25°C
Because of this, flying during summer wasn’t really an option. Japan is often much hotter than 25°C for several months each year. Winter also carried the risk of freezing temperatures in Europe.
For us, spring became the obvious choice, which worked perfectly because my language school in Japan also started in April.
Choosing the Right Crate
Finding the right crate turned out to be much harder than we expected.
At first, we thought buying a crate would be the easiest part of the whole move. We were wrong.
If you’re travelling with a small dog in the cabin, you usually only need a soft carrier that fits under the seat in front of you.
However, if your dog is travelling in the cargo hold, the requirements are much stricter. Not only does the crate need to fit your dog perfectly, but it also has to meet the airline’s safety requirements.
Some airlines may even refuse transport if the crate doesn’t comply with their regulations.
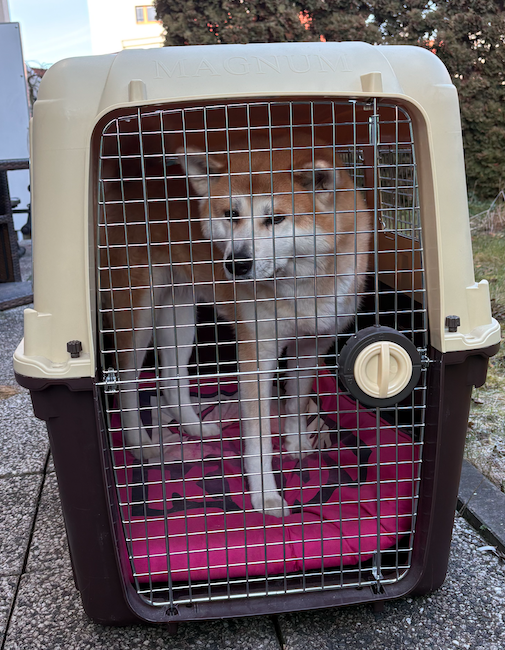
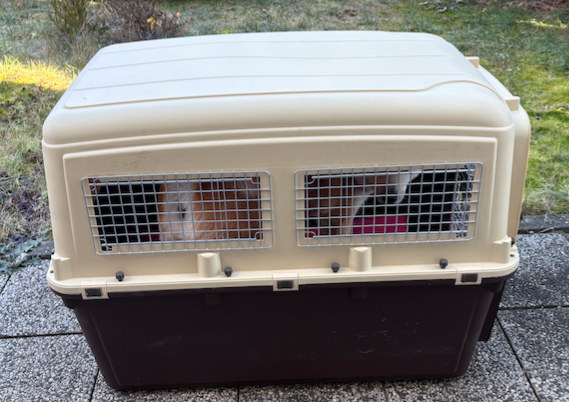
What Makes a Good Travel Crate?
Your crate should always be IATA compliant, unless your airline specifies different requirements.
Although airlines may have slightly different rules, most require the crate to meet the following conditions:
✅ Hard plastic construction
✅ Metal door with secure locking system
✅ Ventilation on multiple sides
✅ Water bowl attached to the inside of the door
✅ Absorbent bedding on the floor
✅ LIVE ANIMALS stickers
✅ Upright arrows showing the correct position
The Most Important Part: Size
The crate shouldn’t be chosen based on your dog’s weight.
Instead, it needs to fit your dog’s body.
Your dog must be able to:
- stand naturally without touching the roof,
- turn around comfortably,
- lie down in a natural position.
This is one of the first things airline staff checked at the airport.
Finding a Crate for a Large Dog
Our Akita Inu, Chiyoko, weighs approximately 32 kg (70 lbs). Finding a crate large enough for her was surprisingly difficult. We visited almost every large pet store we could find in the Czech Republic. None of them had a crate big enough.
Most stores only stocked medium-sized travel crates designed for Labradors or smaller breeds.
Eventually, after several days of searching, we found a specialist shop about 40 km from Prague that had exactly the size we needed.
If you have a large breed, don’t leave this until the last minute.
Large IATA-approved crates aren’t easy to find.
Start Crate Training Early
Buying the crate is only half the job. Your dog also needs to feel safe inside it. Imagine suddenly being locked inside a small room for more than ten hours. That’s exactly what flying feels like for a dog that has never seen a travel crate before.
Fortunately, we had already crate-trained Chiyoko at home, so she saw the crate as a familiar place rather than something frightening.
If your dog has never travelled in a crate before, start training several weeks—or ideally months—before your flight.
Some simple ways to help include:
✔️ Leave the crate open at home.
✔️ Feed your dog inside the crate.
✔️ Hide treats inside.
✔️ Let your dog sleep there voluntarily.
✔️ Never use the crate as punishment.
The goal is simple: Your dog should see the crate as a safe place, not as something scary.
Importing a Dog to Japan
Once you’ve chosen your airline and found the right travel crate, it’s time to start preparing for Japan’s import requirements.
Don’t let the paperwork scare you.
There are quite a few documents to complete, but the process itself isn’t difficult. The biggest challenge is starting early enough.
Most steps depend on the previous one, so missing a deadline can delay your move by weeks—or even months.
Timeline
Here’s a simplified line of the process we followed before moving to Japan.
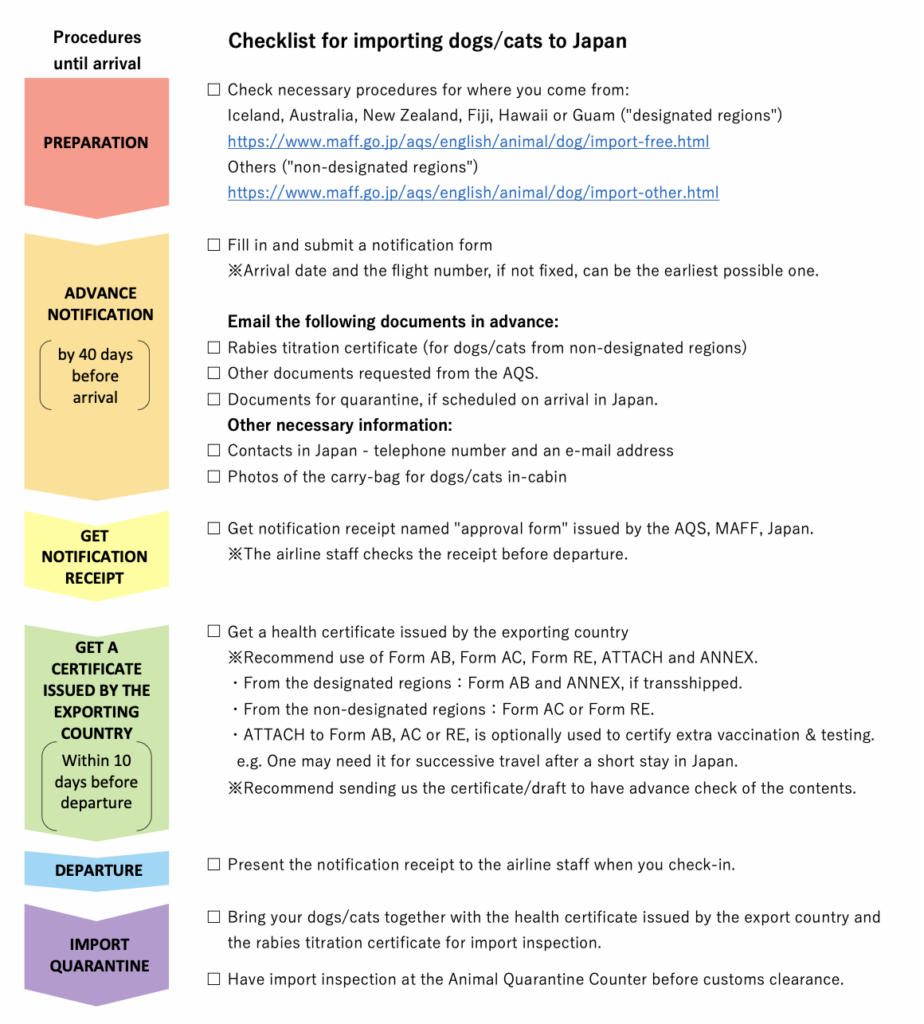
Step 1: Microchip
Before anything else, your dog must be microchipped.
The microchip is your dog’s official identification throughout the entire import process.
Every vaccination, blood test and certificate will be linked to this microchip number.
Step 2: Rabies Vaccinations
Japan requires your dog to have valid rabies vaccinations before travelling.
Timing matters.
The vaccinations must meet Japan’s import requirements, so if you’re unsure, always discuss your travel plans with your veterinarian before scheduling them.
Every vaccination should be correctly recorded in your dog’s passport or vaccination booklet.
Step 3: Rabies Antibody Blood Test
This is the step that surprised us the most.
Many people assume that once the vaccinations are complete, they can immediately book a flight.
Unfortunately, that’s not how it works.
Your veterinarian must take a blood sample and send it to an approved laboratory, where the level of rabies antibodies is measured.
Only if the result meets Japan’s requirements can you continue with the import process.
For dogs arriving from countries outside Japan’s designated rabies-free regions, follow the official import guide here: Import Dogs and Cats into Japan (Non-Designated Regions)
Step 4: The Waiting Period
Even after receiving a successful blood test result, you usually can’t fly immediately.
Japan requires a waiting period after the blood sample has been taken.
This waiting period is one of the main reasons why moving a dog to Japan takes several months.
For us, this determined the entire moving schedule.
Instead of booking flights first, we had to plan everything around this date.
💡 Our Advice
- If you already know you want to move to Japan, start the veterinary process as soon as possible.
Step 5: Notify Japan About Your Arrival
At least 40 days before arriving in Japan, you must notify the Animal Quarantine Service (AQS) about your dog’s arrival.
Fortunately, this can all be done online.
During the application you’ll need information such as:
- your arrival airport,
- flight number,
- arrival date and time,
- your contact details,
- details about your dog,
- veterinary documents.
If you haven’t booked your flight yet, Japan allows you to submit the earliest expected flight and update the details later if necessary.
After reviewing your application, the Animal Quarantine Service will send you an Approval Form.
Print this document and keep it with you – the airline may ask to see it before allowing your dog to board the aircraft and this is document you will need for it.
Step 6: Health Certificate
Shortly before departure, your veterinarian must prepare the official health certificate required for export.
This certificate confirms that your dog:
- is healthy enough to travel,
- has a valid microchip,
- meets Japan’s vaccination requirements,
- satisfies all veterinary conditions for import.
Depending on your country, this certificate may also need to be endorsed by your national veterinary authority before departure.
Because the certificate is only valid for a limited time (max 5 days), this is one of the last steps before your flight.
Keep Everything Together
By the time we were ready to leave, we had collected quite a stack of paperwork.
💡 Our Our recommendation is simple:
- Keep every document in one folder.
- Bring both printed and digital copies.
- Airport staff, veterinarians and quarantine officers may ask to see different documents at different stages of your journey.
- Having everything organized made the entire process much less stressful.
Documents Checklist:
□ Dog passport
□ Rabies vaccination records
□ Rabies antibody test certificate
□ Health Certificate
□ AQS Approval Form
□ Flight confirmation
□ Copies of all documents
📌 Official Information
Import requirements can change over time and may differ depending on the country you’re travelling from. Before booking your flight, always check the latest requirements on the official Animal Quarantine Service website
⚠️ Official Animal Quarantine Service (Japan): Import & Export Quarantine of Dogs and Cats (MAFF / Animal Quarantine Service)
Booking the Flight
Once all the paperwork was underway, we could finally start looking for flights.
Because I was starting language school in Japan in April, we already knew we had to fly in spring.
Spring also turned out to be the perfect season for travelling with a dog. Summer temperatures in Japan are often too high for many airlines, while winter can be too cold in Europe. Flying in April gave us the best chance of meeting the airline’s temperature requirements.
After comparing several airlines, we narrowed our options down to two that could transport a dog of Chiyoko’s size on a direct flight to Japan.
In the end, we chose LOT Polish Airlines.
The reviews from other dog owners were positive, the price was reasonable, and the route from Warsaw to Tokyo was exactly what we were looking for.
Booking Your Dog
Booking our own tickets was easy. Booking Chiyoko was a different story.
Most airlines require you to reserve your dog’s space separately because only a limited number of animals are allowed on each flight.
When purchasing our tickets online, we selected the option to travel with a dog in the cargo hold.
Some airlines even mention that if the maximum number of pets is reached, priority may be given to passengers travelling in higher cabin classes.
For that reason, I decided to fly in Premium Economy instead of standard Economy, hoping it would increase our chances of securing a place for Chiyoko.
Fortunately, everything went smoothly.
After booking the tickets, however, nobody contacted us to confirm that Chiyoko’s reservation had been accepted.
Needless to say, we were nervous. So I called LOT’s customer service. Within a few minutes, they confirmed that everything had been successfully booked and that Chiyoko would be travelling with me.
That phone call gave us enormous peace of mind.
Departure Day
After months of preparation, paperwork and planning, departure day had finally arrived.
Since we were staying with my brother near Ostrava before moving to Japan, he kindly drove us to Warsaw Airport.
We were incredibly grateful for his help.
Travelling with two large suitcases, a giant dog crate and a 32 kg Akita would have been almost impossible on our own.
One Tip Before You Leave
If your dog is healthy and used to exercise, we highly recommend taking a long walk before heading to the airport.
Our flight departed in the evening, which worked perfectly because it was already close to Chiyoko’s usual bedtime.
Before leaving, we spent almost an hour walking through a nearby park.
The goal wasn’t to tire her out completely, but to help her relax and increase the chances that she would sleep during the flight.
Looking back, we’re really glad we did.
At the Airport
After months of planning, countless veterinary appointments and what felt like endless paperwork, departure day had finally arrived.
We packed everything into the car and headed to Warsaw Chopin Airport, where our journey to Japan would begin.
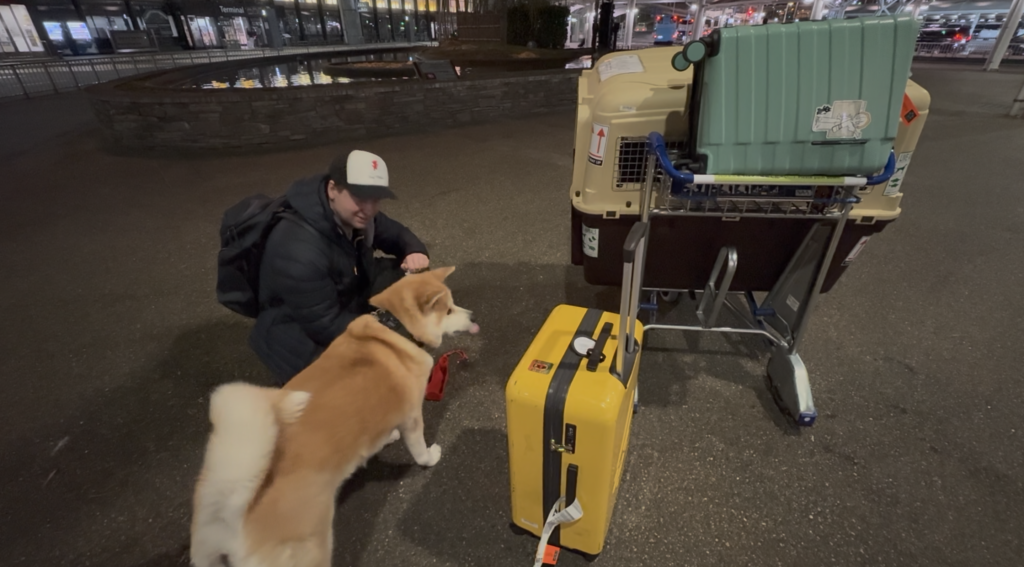
Since we were moving rather than going on holiday, we travelled with two large suitcases, a giant travel crate and our Akita Inu, Chiyoko.
Thankfully, my brother drove us to the airport. Looking back, I honestly don’t know how we would have managed all the luggage on our own.
Check-in
One of the reasons we booked Premium Economy was the dedicated check-in counter.
With this much luggage and such a large dog, avoiding long queues was a huge advantage.
The check-in process itself was very straightforward.
First, the airline staff measured the crate to make sure it met their requirements.
Next, they asked us to place Chiyoko inside the crate before weighing both the dog and the crate together.
Finally, they checked all the required documents and inspected the crate itself.
They made sure it had:
- LIVE ANIMALS stickers,
- directional arrows,
- attached water bowls,
- secure locks,
- enough space for Chiyoko to stand and turn around comfortably.
Once everything had been approved, our suitcases were checked in and we received our boarding passes.
The staff then explained that Chiyoko should be taken to the oversized baggage area, but not immediately.
We could keep her with us until about an hour before departure. We were incredibly grateful for that extra time together.
One Last Walk
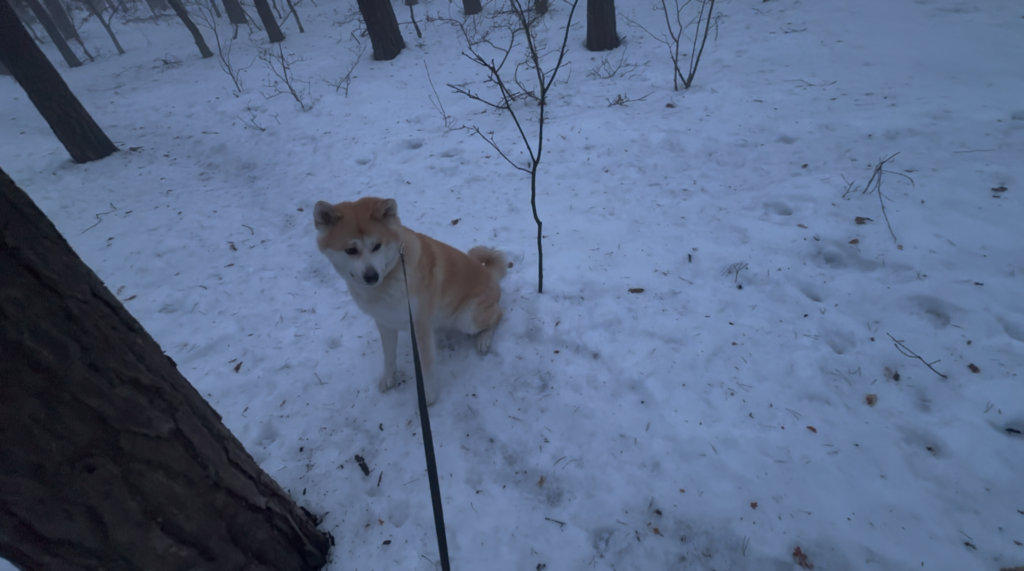
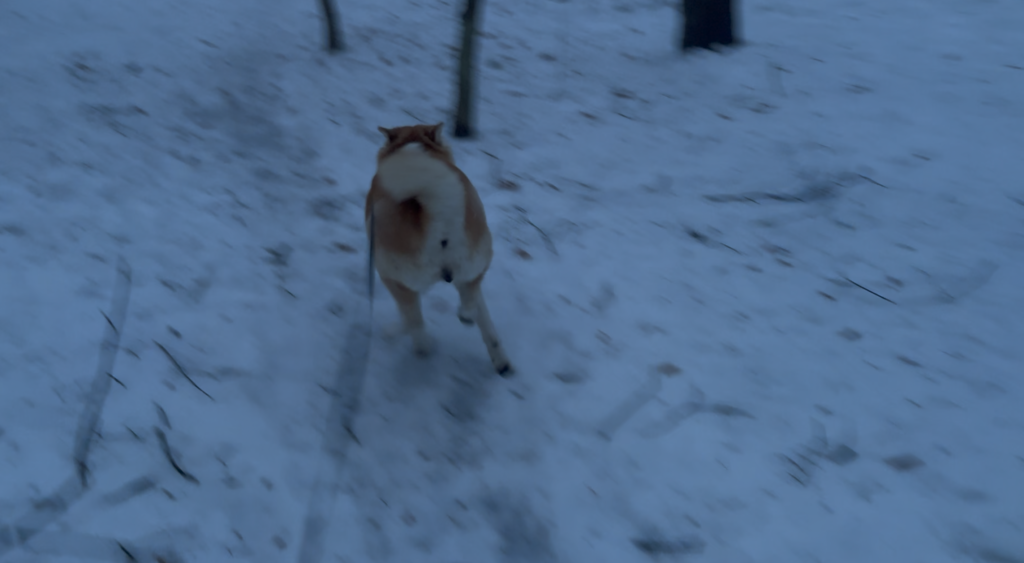
Instead of waiting inside the terminal, we decided to spend the last hour outside. It had snowed. Normally that might not sound special. For Chiyoko, it was.
Like many Akitas, she absolutely loves snow.
Watching her happily walk around, completely unaware that she was about to fly halfway around the world, made the moment feel strangely peaceful.
Looking back, we’re so glad we didn’t spend that hour sitting in the departure lounge. If your airport allows it, take your dog for one last walk.
It’s a much nicer way to say goodbye than standing under fluorescent lights inside the terminal.
Saying Goodbye
Eventually, the time came.
We walked to the oversized baggage counter.
Before handing Chiyoko over, I filled her water bowl with just a small amount of water. Too much would simply spill during transport, but I wanted her to have something to drink before the staff topped it up after loading.
The bottom of the crate was covered with an absorbent pad, as required by the airline.
Apart from that, the crate was empty.
No toys. No blankets. No leash. No collar. Just Chiyoko.
Once everything was checked, she and the crate went through the oversized baggage scanner.
Then two airport employees carefully lifted the crate onto a trolley.
As they started walking away, Chiyoko looked back at me.
She looked confused.
A little frightened.
And I suddenly found myself wondering if we’d made the biggest mistake of our lives.
Watching her disappear behind the airport doors while I stood there holding her leash was, without question, the hardest moment of the entire move.
Boarding the Aircraft
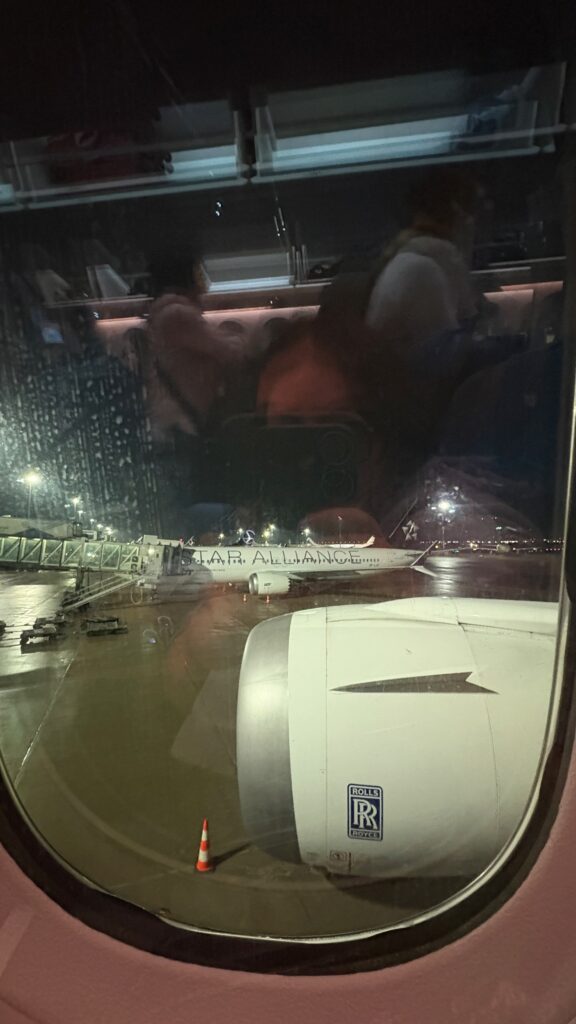
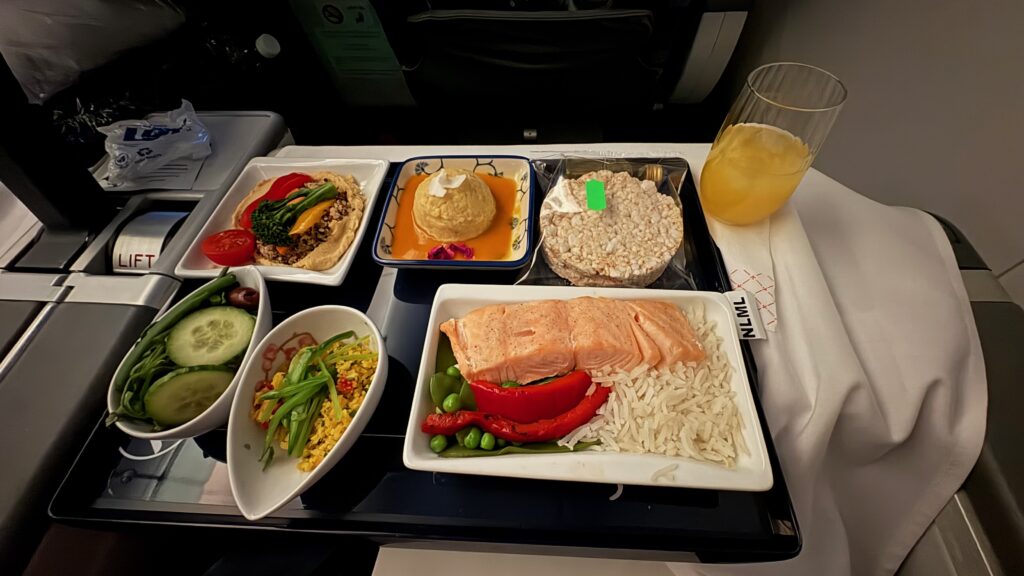
Even after boarding the plane, I couldn’t stop thinking about Chiyoko.
Was she already on board? Had she received water? Was everything okay?
Before take-off, I asked one of the flight attendants if it was possible to check.
A few minutes later she returned with an update.
“They’re loading your dog now.”
A little later she came back again.
“Your dog is safely on board.”
It was probably the shortest conversation of the entire flight. But hearing those words allowed me to relax for the first time that day.
Arriving in Japan
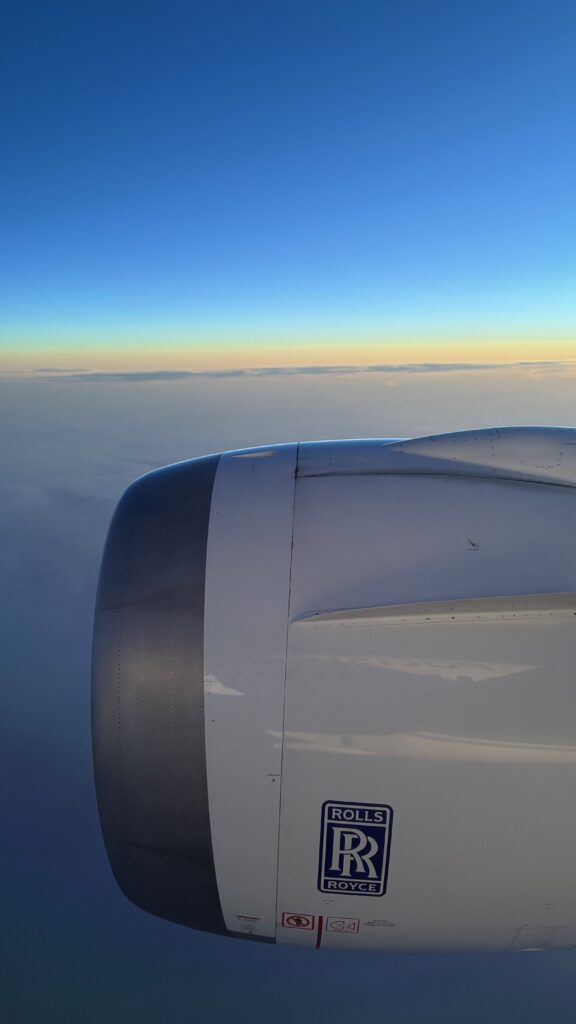
After almost ten hours in the air, we finally landed in Tokyo.
The first thing on my mind wasn’t immigration.
It wasn’t customs.
It wasn’t even collecting our luggage.
I just wanted to see Chiyoko.
The airline had told us that she would either arrive on the normal baggage belt or at the oversized baggage area.
So that’s exactly where I went.
But she wasn’t there.
I waited.
Collected my suitcases.
Waited some more.
Soon every suitcase from our flight had arrived.
Passengers were leaving the baggage hall.
The oversized baggage area was empty.
And Chiyoko was nowhere to be seen.
I’ll admit it – I started to panic.
There was no LOT service desk at the airport, so I went to the airport information counter instead.
Although they couldn’t contact the airline directly, the staff immediately started making phone calls to help us.
A few minutes later they told me Chiyoko would soon be brought to the oversized baggage area.
Relieved, I waited.
Eventually, she arrived.
But there was one more misunderstanding.
The airport staff believed someone from the airline had to collect her first.
Another phone call followed.
After a few minutes they finally smiled and said,
“She’s yours.”
At that moment, I honestly didn’t care how long it had taken.
I was just happy to see her again.
Animal Quarantine Service
Getting your dog off the plane isn’t the last step.
Before entering Japan, every imported dog must pass an inspection carried out by the Animal Quarantine Service (AQS).
Fortunately, the process was much easier than we expected.
Once I had finally collected Chiyoko, I headed straight to the Animal Quarantine counter before going through customs.
An officer asked for all of our documents and invited me to take a seat while everything was checked.
The paperwork review took a few minutes.
Afterwards, they asked me to take Chiyoko out of the crate so they could scan her microchip and confirm that it matched the documents.
Once everything had been verified, we placed her back into the crate.
A few moments later, our paperwork was stamped and we were officially allowed to enter Japan together.
Compared to everything we had gone through before the trip, this part was surprisingly smooth.
One More Challenge…
Just when I thought everything was over, I discovered one last problem.
The luggage trolley I had used inside the airport couldn’t leave the arrivals area.
That meant I had to transfer the enormous crate onto a different trolley.
Normally, this wouldn’t be a problem.
But Chiyoko and the crate together weighed around 35 kg.
I simply couldn’t lift them by myself.
So I let Chiyoko out of the crate for a moment while I tried to move everything.
Within seconds, an airport employee rushed over and politely explained that dogs weren’t allowed outside their crates in this area.
Fortunately, instead of just telling me what I couldn’t do, she immediately started helping.
Together we moved the crate onto the new trolley and even helped rearrange my luggage so I could push everything more easily.
It was one of the first examples of the kindness we would experience again and again after moving to Japan.
Finally Together Again
As I walked through the arrival doors, Milan was already waiting outside.
After travelling separately, we were finally together again.
Now we only had one small challenge left.
Fitting two large suitcases, an enormous travel crate and Akita into our tiny Japanese kei car.
Surprisingly…
We somehow managed.
It definitely wasn’t spacious.
But after everything we’d been through, none of that mattered.
We were finally on our way home.
Our new life in Japan had officially begun.
Our Tips From This Experience
If we had to do it all over again, these are the things we’d recommend most.
Before the Flight
✔️ Start preparing several months in advance.
✔️ Read your airline’s pet policy before booking your tickets.
✔️ Contact the airline after booking to confirm your dog’s reservation.
✔️ Buy the travel crate early—large IATA-approved crates can be difficult to find.
✔️ Let your dog get used to sleeping and relaxing in the crate weeks before the flight.
✔️ Keep all documents together in one folder.
On Departure Day
✔️ Take your dog for a long walk before heading to the airport.
✔️ Arrive much earlier than you normally would.
✔️ Keep some water in the crate, but don’t fill the bowl completely to avoid spills.
✔️ Stay calm—your dog will often pick up on your emotions.
After Landing
✔️ Don’t panic if your dog isn’t waiting at the baggage belt.
✔️ Head to the Animal Quarantine Service before customs, but after you get your dog.
✔️ Ask airport staff if you’re unsure where your dog is – they were incredibly helpful throughout our journey.
Frequently Asked Questions
Can large dogs fly to Japan?
Yes. However, finding an airline that accepts large dogs can be one of the biggest challenges. Always check the airline’s weight limits, crate requirements and seasonal restrictions before booking.
Can my dog travel in the cabin?
Usually only small dogs that meet the airline’s size and weight requirements can travel in the cabin. Large dogs normally travel in the aircraft’s climate-controlled cargo hold.
How long did the preparation take?
Several months.
Most of that time was spent completing Japan’s veterinary requirements and waiting for the necessary paperwork.
Was Chiyoko okay after the flight?
Yes. She was understandably tired after such a long journey, but seeing her wagging her tail again after collecting her at the airport was an incredible feeling.
Within a short time, she was already exploring her new home in Japan.
Would We Do It Again?
Absolutely. Moving to Japan with a large dog wasn’t easy.
It required months of planning, paperwork and patience.
There were moments when we wondered whether everything would work out.
Watching Chiyoko disappear behind the airport doors was one of the hardest moments of the entire move.
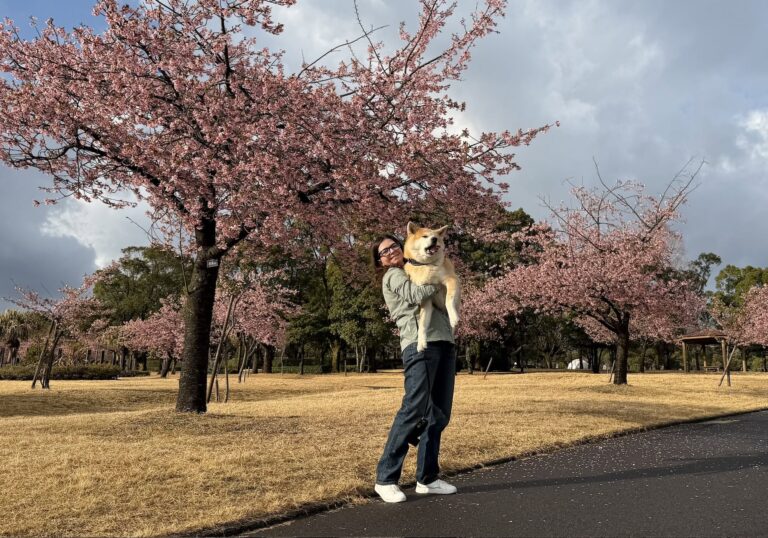
But a few days later, she was running beneath cherry blossoms in Japan.
At that moment, we knew every form, every phone call and every stressful moment had been worth it.
If you’re planning to move to Japan with your dog, we hope our experience helps make your journey a little easier.
And if you have any questions, feel free to leave a comment below – we’ll be happy to share anything we learned along the way.
Useful Resources
If you’re planning an international flight with your dog, these official resources are worth checking before booking your tickets.
- 🇯🇵 Japan Animal Quarantine Service (AQS) – Official guide for importing dogs and cats into Japan, including microchip requirements, rabies vaccinations, blood test, waiting period, health certificates, and advance notification. Japan Animal Quarantine Service – Importing Dogs and Cats
- ✈️ LOT Polish Airlines – Traveling with Pets – Airline rules for pets traveling in the cabin or baggage hold, crate requirements, restrictions, and booking information. LOT Polish Airlines – Traveling with Pets
- 📦 IATA Live Animals Regulations (LAR) – International standards for transporting animals by air. Most airlines base their crate requirements on these regulations. IATA Live Animals Regulations
- 🇯🇵 Our story: Why We Moved to Japan – Read why we decided to leave Europe and start a new life in Kagoshima with our Akita Inu.
- 🎥 Watch our video on YouTube
 Čeština
  English
Leave a Comment